Thursday, April 11, 2013

Hamburgers


A couple of nights ago for dinner I learned how to make hamburgers.  It was easier than I thought—it just involves mixing, using the hamburger press to shape the hamburgers, barbequing them, and preparing the toppings.  I learned about how much hamburger to add in the press and how to use the press.  I also learned how to use our gas barbeque.  When I was cooking the burgers, my dad taught me to look for clear liquid (instead of red) on the hamburgers to tell that they were done.  In the end they turned out well, but we forgot to add a bit of liquid smoke like we normally do, which might have made them taste even a little better.   It took me about a total of 55 minutes to prepare and barbeque the hamburgers, along with cut up all the toppings.

Hamburger with lettuce, tomatoes, cheese, and ketchup.

Hamburgers
Prep/barbeque time: 55 minutes             Makes 5-6 burgers
Ingredients:  Burger patty: 1.5 lb ground beef, 1 finely chopped green onion, garlic powder, salt, pepper, 1 tbsp. barbeque sauce, ¼ cup tortilla chips, ½ tsp. liquid smoke (optional)  Other ingredients, as desired: hamburger bun, lettuce, tomato, cheese, onion, avocado, ketchup, mustard, mayonnaise.

Directions:  Mix together all ingredients for burger patty, adding garlic powder, salt, and pepper to taste.  Press into hamburger shape and barbeque, melting cheese on top once cooked.  Barbeque buns slightly if desired.  Put together burger with wanted toppings and enjoy!


All ready to cook!                                                    On the barbecue.

Friday, April 5, 2013

Silky Chocolate Pie

For dessert on Easter I made this chocolate pie, which tastes similar to chocolate pudding.  I got the recipe out of a Taste of Home magazine that I had, and changed a few ingredients so it would be non-alcoholic.  The recipe claimed to take only 25 minutes to prepare it, also taking 15 minutes to cook and additional chilling time, but I took at least an hour and a half just to prepare it.  I guess speed is something that comes with time!  I really enjoyed the filling, but it was kind of runny.   If I make it again, I will likely add more cornstarch or freeze it slightly, both of which were suggestions from my dad.  I also would use a different recipe for the crust, because I prefer a flakier crust, rather than the more chewy and dense type that this recipe provided.  Overall, I enjoyed this pie.  Though it might be easier just to go out and buy chocolate pudding next time!

To get this recipe, look on page 43 of the February/March issue of Taste of Home magazine.  It can also be accessed online with a password at tasteofhome.com.

Wednesday, April 3, 2013

Grandma's Crescent Rolls


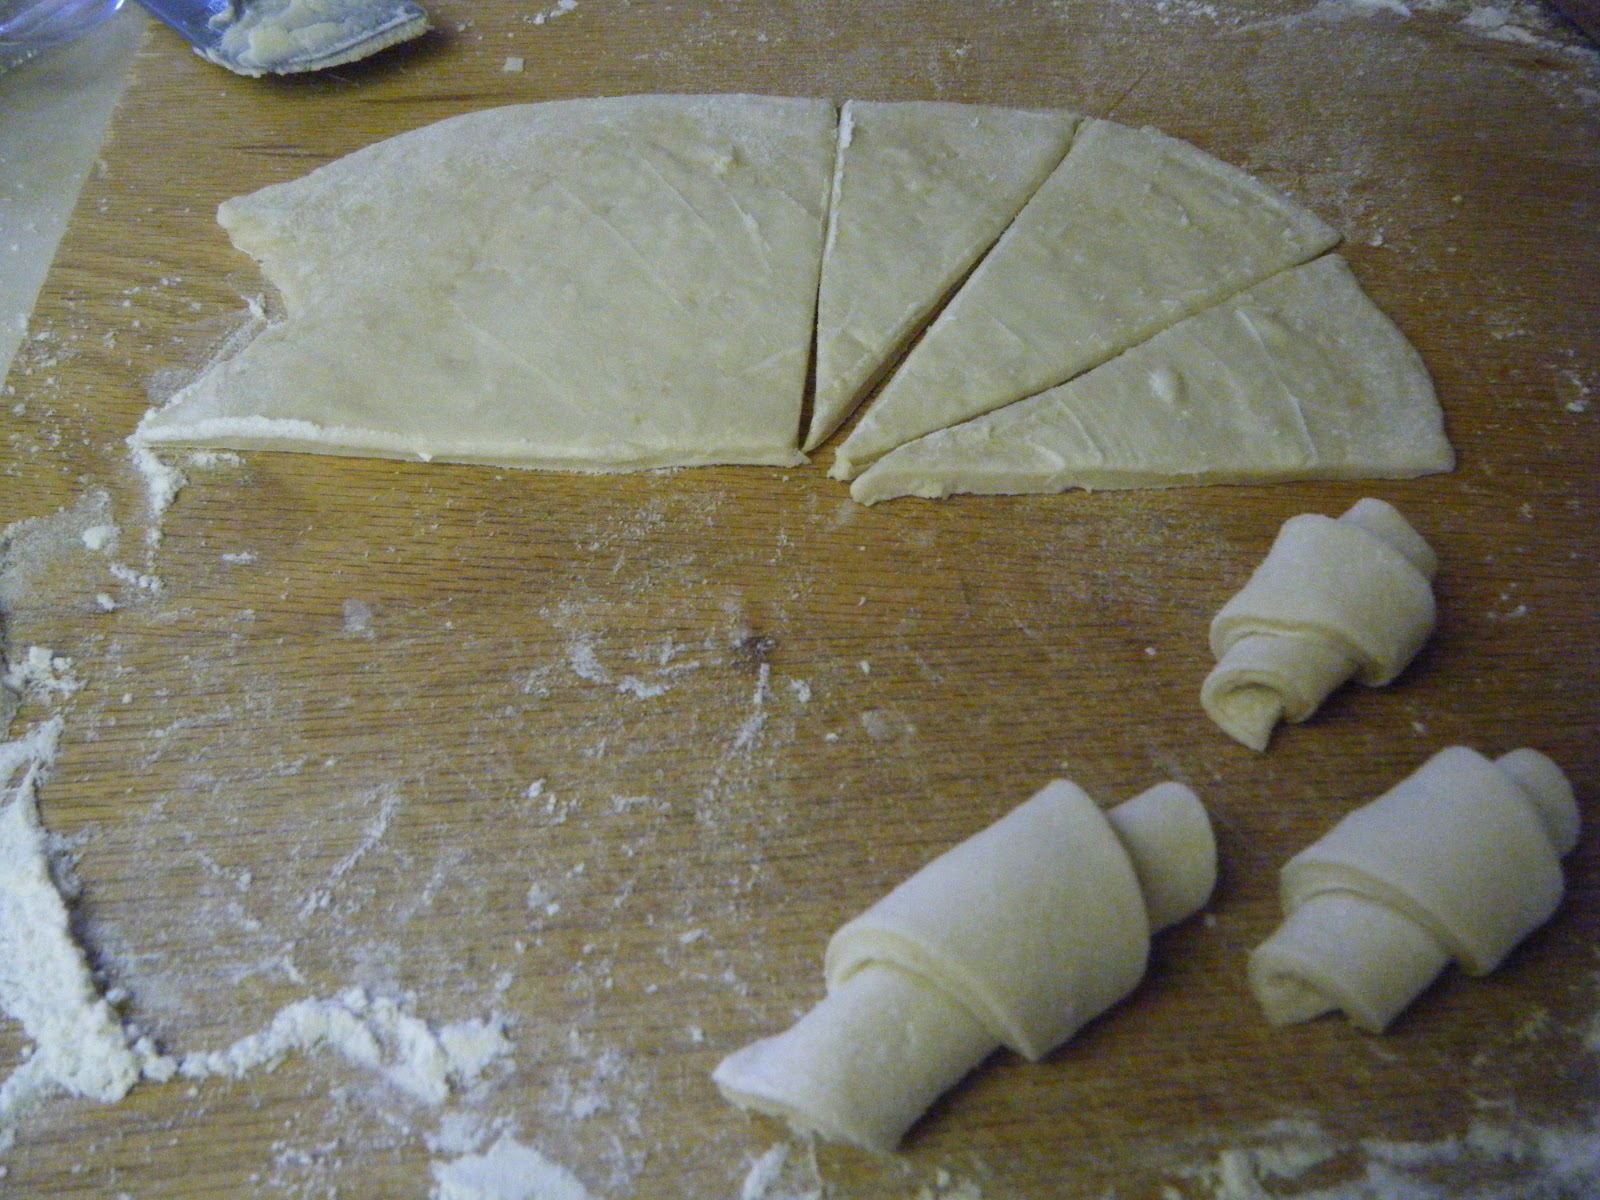
For Easter dinner, I made these rolls that we always make for holiday meals.  I have helped in the past with rolling the dough and making them into a crescent shape, but I have never made them from the start.  This is the first thing I have made for this project that involves a lot of making and waiting time—since it involves letting the dough rise before they can be shaped and baked.  The first thing that I learned when making this recipe was to dissolve the yeast in water.  I’m glad that my mom told me to do that, otherwise I wouldn’t have known.  The second thing I am glad to have been told was when my grandma said to start out with only 6 cups of flour and add more if I needed.  The recipe originally said 6 ½-7 cups of flour, but even with only 6 cups, I still needed to add a small amount more of water!  Aside from those things, nothing in the mixing of the dough was unexpected.  After the dough had risen overnight, I was surprised to see how full the container was that we put it inside.  Then my sister helped get me started with rolling and shaping the dough correctly.  The only surprises then were a few additions of butter, which I added to this version of the recipe.


Grandma’s Crescent Rolls
1 hour + rising + baking
Ingredients: 2 cups lukewarm water, 2 cakes yeast, ½ cup sugar, ¼ cup oil, 6-7 cups flour, 1 ½ tsp. salt, 1 egg, butter

Directions:  Dissolve yeast into water.  Mix with sugar, oil, flour, salt, and egg to form dough.  Put in refrigerator two hours or overnight.  Cut dough into four pieces.  Roll flat each piece, butter, and cut into twelve triangles each.  Roll up each triangle and set on pan to rise at least 1 ½ hours.  Bake at 400°F for 15-18 minutes until golden brown.  Put on cooling rack and put butter on top of hot rolls.  Makes four dozen.

 Rolling, buttering, cutting, and rolling up the dough after rising overnight.

Before and after baking and buttering.

Decorating Bunny Cookies


Before Easter, my sister and I enjoyed spending an hour decorating some bunny cookies that my mom bought at Costco.  The box came with four bunny cookies, so we each had two to decorate.  I learned how to do a pretty yet simple bead-like frosting design that I used in places on my bunnies.  It just involves squeezing the frosting in one place for longer before moving onto the next place. 

These are the two cookies that I decorated.  The one on the left shows a lot of the bead-like frosting design I was talking about.